与 SwiftUI 框架的集成
Compose Multiplatform 与 SwiftUI 框架具有互操作性。 您可以将 Compose Multiplatform 嵌入到 SwiftUI 应用程序中,也可以在 Compose Multiplatform UI 中嵌入原生的 SwiftUI 组件。本页面提供了在 SwiftUI 中使用 Compose Multiplatform 以及在 Compose Multiplatform 应用中嵌入 SwiftUI 的示例。
要了解 UIKit 的互操作性,请参阅与 UIKit 框架的集成一文。
在 SwiftUI 应用程序中使用 Compose Multiplatform
要在 SwiftUI 应用程序中使用 Compose Multiplatform,请创建一个 Kotlin 函数 MainViewController(),该函数返回 UIKit 中的 UIViewController 并包含 Compose Multiplatform 代码:
fun MainViewController(): UIViewController =
    ComposeUIViewController {
        Box(Modifier.fillMaxSize(), contentAlignment = Alignment.Center) {
            Text("This is Compose code", fontSize = 20.sp)
        }
    }
ComposeUIViewController() 是一个 Compose Multiplatform 库函数,它接受一个可组合函数作为 content 实参。以这种方式传递的函数可以调用其他可组合函数,例如 Text()。
Compose Multiplatform 渲染需要显式启用高刷新率: 请在应用的
Info.plist文件中添加CADisableMinimumFrameDurationOnPhone键。 如果不添加此项,应用将在运行时崩溃。
接下来,您需要一个在 SwiftUI 中表示 Compose Multiplatform 的结构。 创建以下结构,将 UIViewController 实例转换为 SwiftUI 视图:
struct ComposeViewController: UIViewControllerRepresentable {
    func makeUIViewController(context: Context) -> UIViewController {
        return Main_iosKt.MainViewController()
    }

    func updateUIViewController(_ uiViewController: UIViewController, context: Context) {
    }
}
现在您可以在其他 SwiftUI 代码中使用 ComposeView 结构了。
Main_iosKt.MainViewController 是生成的名称。您可以在 与 Swift/Objective-C 的互操作性页面上了解有关从 Swift 访问 Kotlin 代码的更多信息。
最后,您的应用程序应该是这样的:
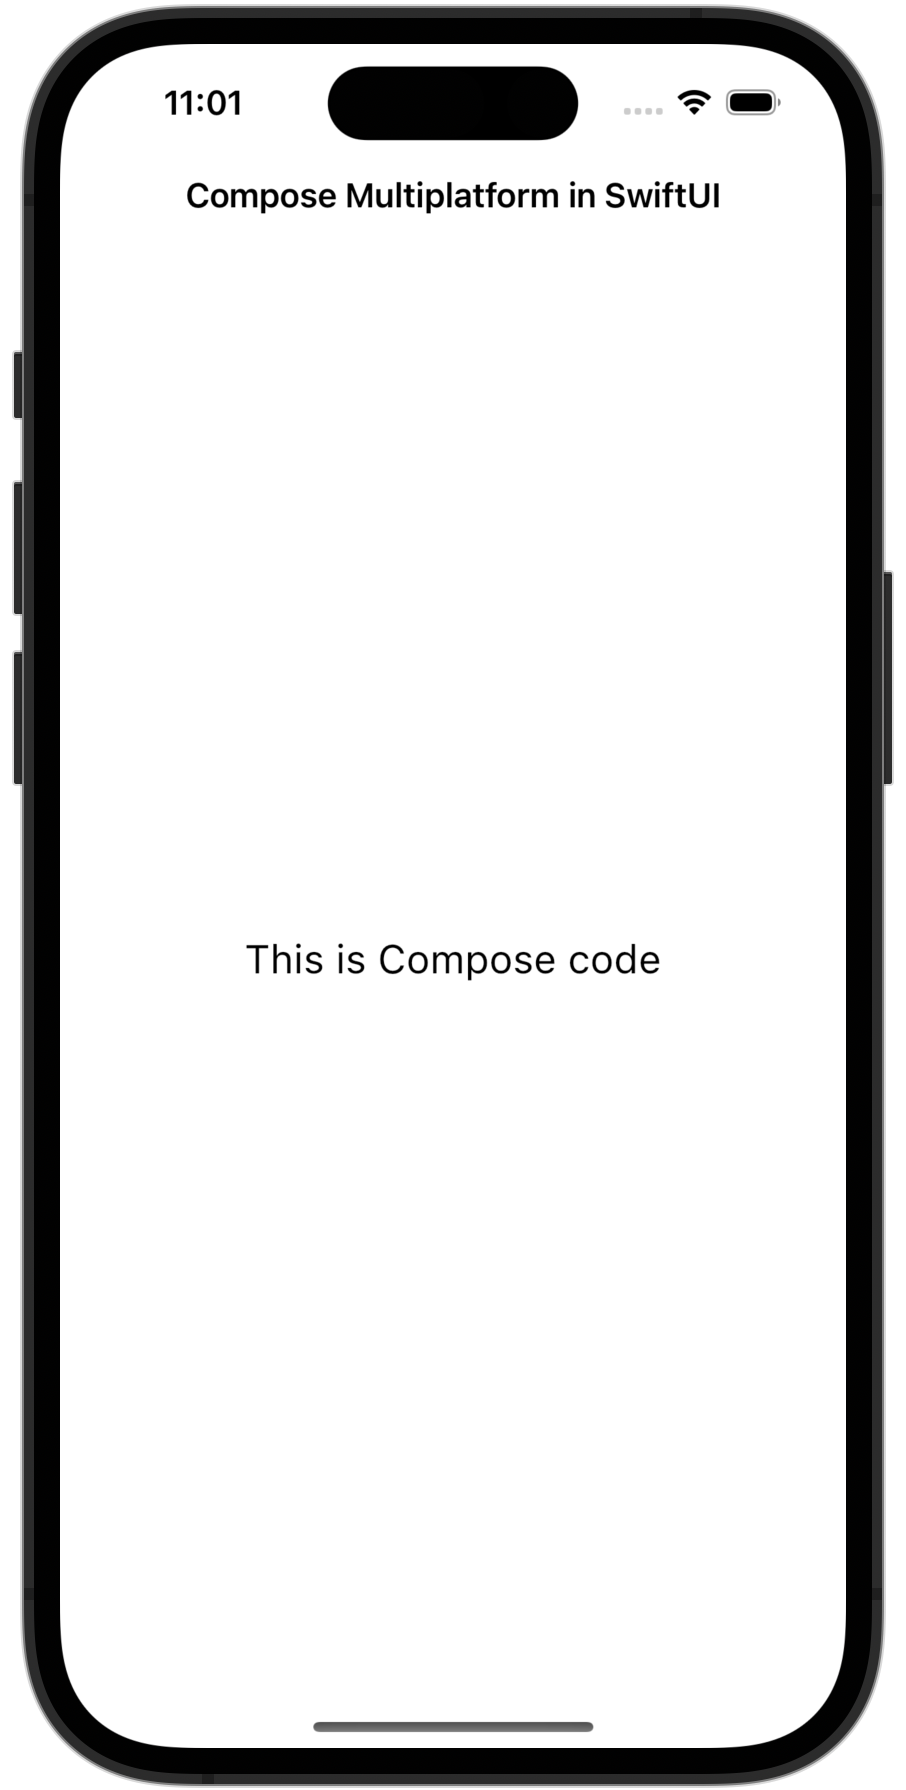
您可以在任何 SwiftUI 视图层次结构中使用此 ComposeView,并从 SwiftUI 代码中控制其大小。
如果您想将 Compose Multiplatform 嵌入到现有应用程序中,请在任何使用 SwiftUI 的地方使用 ComposeView 结构。 有关示例,请参阅我们的示例项目。
在 Compose Multiplatform 中使用 SwiftUI
要在 Compose Multiplatform 中使用 SwiftUI,请将您的 Swift 代码添加到中间的 UIViewController 中。 目前,您无法直接在 Kotlin 中编写 SwiftUI 结构。相反,您必须在 Swift 中编写它们并将其传递给 Kotlin 函数。
首先,为您的入口点函数添加一个实参以创建 ComposeUIViewController 组件:
@OptIn(ExperimentalForeignApi::class)
fun ComposeEntryPointWithUIViewController(
createUIViewController: () -> UIViewController
): UIViewController =
ComposeUIViewController {
Column(
Modifier
.fillMaxSize()
.windowInsetsPadding(WindowInsets.systemBars),
horizontalAlignment = Alignment.CenterHorizontally
) {
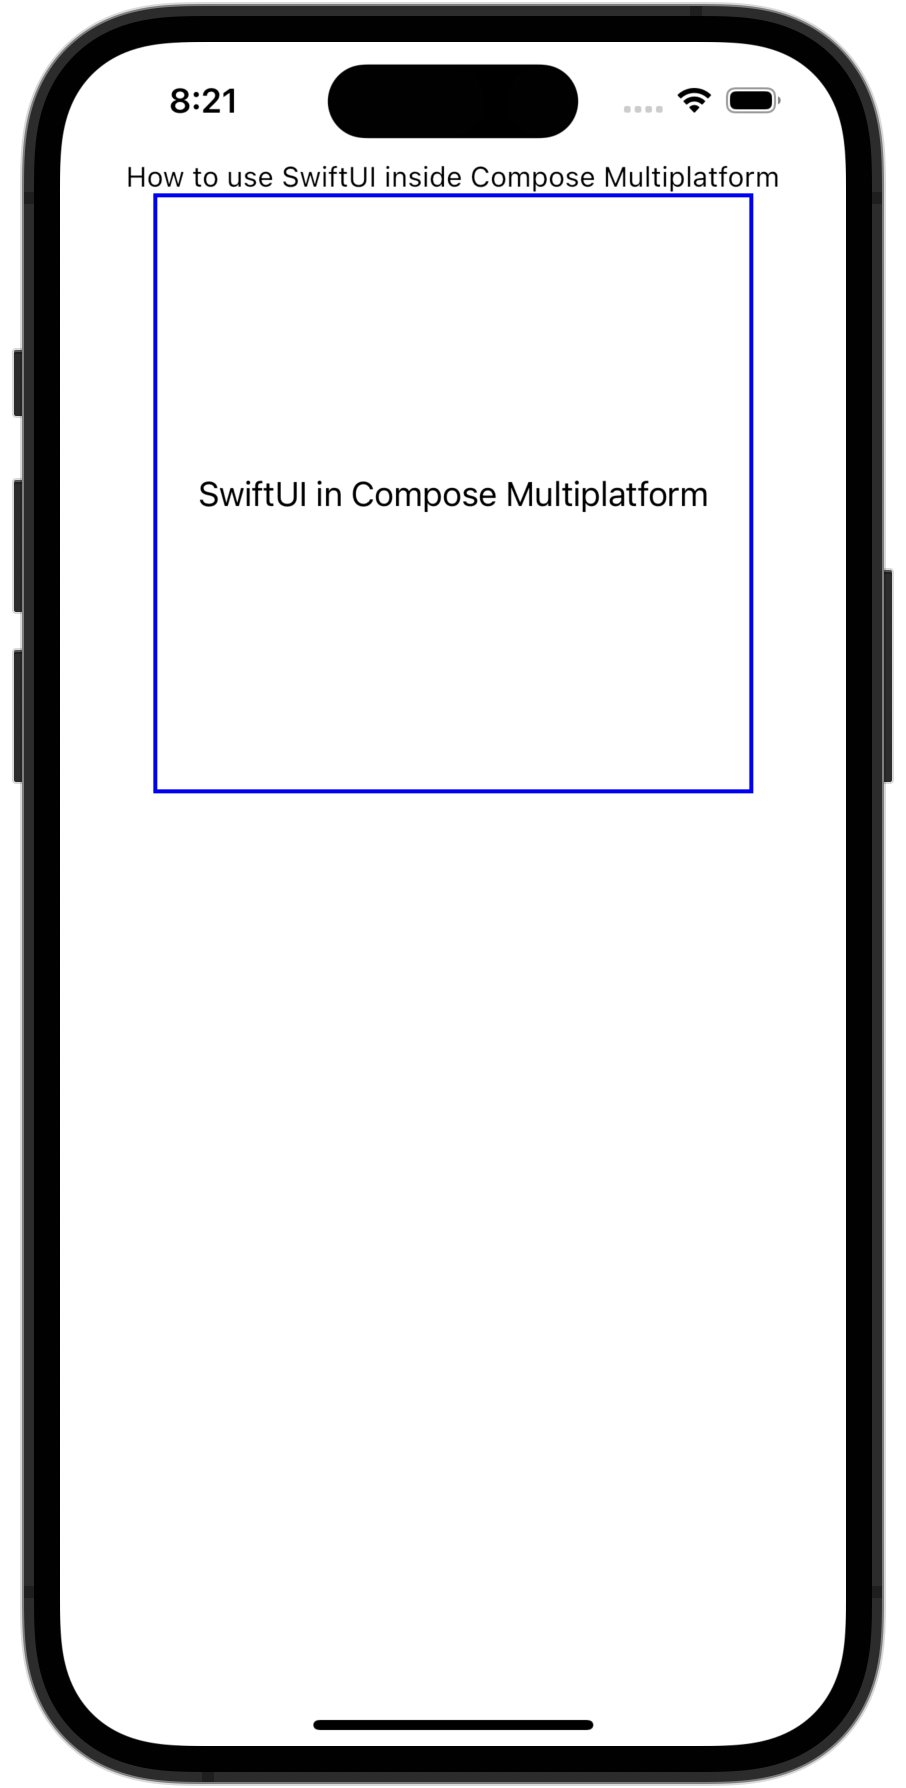
Text("How to use SwiftUI inside Compose Multiplatform")
UIKitViewController(
factory = createUIViewController,
modifier = Modifier.size(300.dp).border(2.dp, Color.Blue),
)
}
}在 Swift 代码中,将 createUIViewController 传递给入口点函数。 您可以使用 UIHostingController 实例来包装 SwiftUI 视图:
Main_iosKt.ComposeEntryPointWithUIViewController(createUIViewController: { () -> UIViewController in
    let swiftUIView = VStack {
        Text("SwiftUI in Compose Multiplatform")
    }
    return UIHostingController(rootView: swiftUIView)
})
最后,您的应用程序应该是这样的:
在示例项目中探索此示例的代码。
地图视图
您可以使用 SwiftUI 的 Map 组件在 Compose Multiplatform 中实现地图视图。这允许您的应用显示完全交互式的 SwiftUI 地图。
对于同一个 Kotlin 入口点函数,在 Swift 中,使用 UIHostingController 传递包装 Map 视图的 UIViewController:
import SwiftUI
import MapKit

Main_iosKt.ComposeEntryPointWithUIViewController(createUIViewController: {
    let region = Binding.constant(
        MKCoordinateRegion(
            center: CLLocationCoordinate2D(latitude: 37.7749, longitude: -122.4194),
            span: MKCoordinateSpan(latitudeDelta: 0.05, longitudeDelta: 0.05)
        )
    )

    let mapView = Map(coordinateRegion: region)
    return UIHostingController(rootView: mapView)
})
现在,让我们看一个高级示例。此代码向 SwiftUI 地图添加了自定义标注,并允许您从 Swift 更新视图状态:
import SwiftUI
import MapKit

struct AnnotatedMapView: View {
    // 管理地图区域状态
    @State private var region = MKCoordinateRegion(
        center: CLLocationCoordinate2D(latitude: 51.5074, longitude: -0.1278),
        span: MKCoordinateSpan(latitudeDelta: 0.1, longitudeDelta: 0.1)
    )
    // 显示带有自定义标注的地图
    var body: some View {
        Map(coordinateRegion: $region, annotationItems: [Landmark.example]) { landmark in
            MapMarker(coordinate: landmark.coordinate, tint: .blue)
        }
    }
}

struct Landmark: Identifiable {
    let id = UUID()
    let name: String
    let coordinate: CLLocationCoordinate2D

    static let example = Landmark(
        name: "Big Ben",
        coordinate: CLLocationCoordinate2D(latitude: 51.5007, longitude: -0.1246)
    )
}
然后您可以将此带标注的地图包装在 UIHostingController 中并将其传递给您的 Compose Multiplatform 代码:
Main_iosKt.ComposeEntryPointWithUIViewController(createUIViewController: {
    return UIHostingController(rootView: AnnotatedMapView())
})
AnnotatedMapView 执行以下任务:
- 定义一个 SwiftUI
Map视图并将其嵌入到名为AnnotatedMapView的自定义视图中。 - 使用
@State和MKCoordinateRegion管理地图位置的内部状态,从而允许 Compose Multiplatform 显示交互式的、可感知状态的地图。 - 使用符合
Identifiable的静态Landmark模型在地图上显示MapMarker,这是 SwiftUI 中标注所必需的。 - 使用
annotationItems以声明方式在地图上放置自定义标记。 - 将 SwiftUI 组件包装在
UIHostingController中,然后将其作为UIViewController传递给 Compose Multiplatform。
相机视图
您可以使用 SwiftUI 和 UIKit 的 UIImagePickerController 在 Compose Multiplatform 中实现相机视图,并将其包装在兼容 SwiftUI 的组件中。这允许您的应用启动系统相机并拍摄照片。
对于同一个 Kotlin 入口点函数,在 Swift 中,使用 UIImagePickerController 定义一个基础的 CameraView 并使用 UIHostingController 将其嵌入:
Main_iosKt.ComposeEntryPointWithUIViewController(createUIViewController: {
    return UIHostingController(rootView: CameraView { image in
        // 在此处处理拍摄的照片
    })
})
为了使其工作,按如下方式定义 CameraView:
import SwiftUI
import UIKit

struct CameraView: UIViewControllerRepresentable {
    let imageHandler: (UIImage) -> Void
    @Environment(\.presentationMode) private var presentationMode

    init(imageHandler: @escaping (UIImage) -> Void) {
        self.imageHandler = imageHandler
    }

    func makeCoordinator() -> Coordinator {
        Coordinator(self)
    }

    func makeUIViewController(context: Context) -> UIImagePickerController {
        let picker = UIImagePickerController()
        picker.sourceType = .camera
        picker.delegate = context.coordinator
        return picker
    }

    func updateUIViewController(_ uiViewController: UIImagePickerController, context: Context) {}

    class Coordinator: NSObject, UINavigationControllerDelegate, UIImagePickerControllerDelegate {
        let parent: CameraView

        init(_ parent: CameraView) {
            self.parent = parent
        }

        func imagePickerController(_ picker: UIImagePickerController,
                                   didFinishPickingMediaWithInfo info: [UIImagePickerController.InfoKey : Any]) {
            if let image = info[.originalImage] as? UIImage {
                parent.imageHandler(image)
            }
            parent.presentationMode.wrappedValue.dismiss()
        }

        func imagePickerControllerDidCancel(_ picker: UIImagePickerController) {
            parent.presentationMode.wrappedValue.dismiss()
        }
    }
}
现在,让我们看一个高级示例。这段代码展示了一个相机视图,并在同一个 SwiftUI 视图中显示拍摄照片的缩略图:
import SwiftUI
import UIKit

struct CameraPreview: View {
    // 控制相机 sheet 的可见性
    @State private var showCamera = false
    // 存储拍摄的照片
    @State private var capturedImage: UIImage?

    var body: some View {
        VStack {
            if let image = capturedImage {
                // 显示拍摄的照片
                Image(uiImage: image)
                    .resizable()
                    .scaledToFit()
                    .frame(height: 200)
            } else {
                // 未拍摄照片时显示占位文本
                Text("No image captured")
            }

            // 添加打开相机的按钮
            Button("Open Camera") {
                showCamera = true
            }
            // 以模态 sheet 的形式呈现 CameraView
            .sheet(isPresented: $showCamera) {
                CameraView { image in
                    capturedImage = image
                }
            }
        }
    }
}
CameraPreview 视图执行以下任务:
- 当用户点击按钮时,在模态
.sheet中呈现CameraView。 - 使用
@State属性包装器来存储和显示拍摄的照片。 - 嵌入 SwiftUI 原生的
Image视图来预览照片。 - 复用之前基于
UIViewControllerRepresentable的CameraView,但将其更深度地集成到 SwiftUI 状态系统中。
要在真实设备上进行测试,您需要将
NSCameraUsageDescription键添加到应用的Info.plist文件中。如果不添加此项,应用将在运行时崩溃。
Web 视图
您可以通过使用 UIViewRepresentable 包装 UIKit 的 WKWebView 组件,在 Compose Multiplatform 中使用 SwiftUI 实现 Web 视图。这允许您显示具有完整原生渲染的嵌入式 Web 内容。
对于同一个 Kotlin 入口点函数,在 Swift 中,定义一个使用 UIHostingController 嵌入的基础 WebView:
Main_iosKt.ComposeEntryPointWithUIViewController(createUIViewController: {
    let url = URL(string: "https://www.jetbrains.com")!
    return UIHostingController(rootView: WebView(url: url))
})
现在,让我们看一个高级示例。这段代码为 Web 视图添加了导航跟踪和加载状态显示:
import SwiftUI
import UIKit
import WebKit

struct AdvancedWebView: UIViewRepresentable {
    let url: URL
    @Binding var isLoading: Bool
    @Binding var currentURL: String

    // 创建带有导航代理的 WKWebView
    func makeUIView(context: Context) -> WKWebView {
        let webView = WKWebView()
        webView.navigationDelegate = context.coordinator
        webView.load(URLRequest(url: url))
        return webView
    }

    func updateUIView(_ uiView: WKWebView, context: Context) {}

    // 创建协调器以处理 Web 导航事件
    func makeCoordinator() -> Coordinator {
        Coordinator(isLoading: $isLoading, currentURL: $currentURL)
    }

    class Coordinator: NSObject, WKNavigationDelegate {
        @Binding var isLoading: Bool
        @Binding var currentURL: String

        init(isLoading: Binding<Bool>, currentURL: Binding<String>) {
            _isLoading = isLoading
            _currentURL = currentURL
        }

        func webView(_ webView: WKWebView, didStartProvisionalNavigation navigation: WKNavigation?) {
            isLoading = true
        }

        // 更新 URL 并指示加载已完成
        func webView(_ webView: WKWebView, didFinish navigation: WKNavigation?) {
            isLoading = false
            currentURL = webView.url?.absoluteString ?? ""
        }
    }
}
在 SwiftUI 视图中按如下方式使用:
struct WebViewContainer: View {
    // 跟踪 Web 视图的加载状态
    @State private var isLoading = false
    // 跟踪显示的当前 URL
    @State private var currentURL = ""

    var body: some View {
        VStack {
            // 加载时显示加载指示器
            if isLoading {
                ProgressView()
            }
            // 显示当前 URL
            Text("URL: \(currentURL)")
                .font(.caption)
                .lineLimit(1)
                .truncationMode(.middle)

            // 嵌入高级 Web 视图
            AdvancedWebView(
                url: URL(string: "https://www.jetbrains.com")!,
                isLoading: $isLoading,
                currentURL: $currentURL
            )
        }
    }
}
AdvancedWebView 和 WebViewContainer 执行以下任务:
- 创建一个带有自定义导航代理的
WKWebView,用于跟踪加载进度和 URL 更改。 - 使用 SwiftUI 的
@State绑定来动态更新 UI 以响应导航事件。 - 在页面加载时显示
ProgressView旋转图标。 - 使用
Text组件在视图顶部显示当前 URL。 - 使用
UIHostingController将此组件集成到您的 Compose UI 中。
下一步
您还可以探索 Compose Multiplatform 与 UIKit 框架集成的方式。